Starting with Xcode 13, Apple introduced a whole new system for creating documentation. Let’s see how to apply it to documenting a Swift Package.
I have a small Swift package for working with dynamic type named ScaledFont that I’ll be documenting as an example.
Add In-Source Documentation
The first step is to add in-source documentation to the public types of your package. The good news is that DocC uses the same in-source documentation we’ve been using for the last few years. So if you’re already using the triple-slash /// (or /** */) markdown comments you’re in good shape.
A quick tip, position the cursor either on or before a method and use the option-command-slash (⌥⌘/) shortcut to add a documentation comment with placeholders you can then replace:

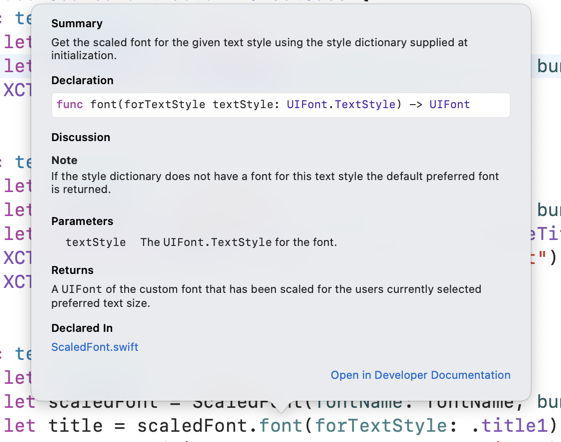
See Swift Documentation Quick Guide for a recap of the Xcode documentation markdown format. Here’s how that method looks when completed:
/// Get the scaled font for the given text style using the
/// style dictionary supplied at initialization.
///
/// - Parameter textStyle: The `UIFont.TextStyle` for the
///   font.
/// - Returns: A `UIFont` of the custom font that has been
///   scaled for the users currently selected preferred
///   text size.
///
/// - Note: If the style dictionary does not have
///   a font for this text style the default preferred
///   font is returned.
public func font(forTextStyle textStyle: UIFont.TextStyle) -> UIFont {
Xcode use these comments to show quick help, but note how there’s now an option to open in the developer documentation:
Build The Documentation
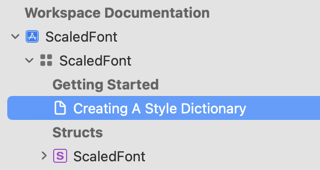
To have our in-source comments show up in the Xcode documentation viewer we need to build the documentation. From the Xcode Product menu, use Build Documentation (⌃⇧⌘D). The Xcode Documentation Organizer opens and shows our package in the Workspace Documentation:
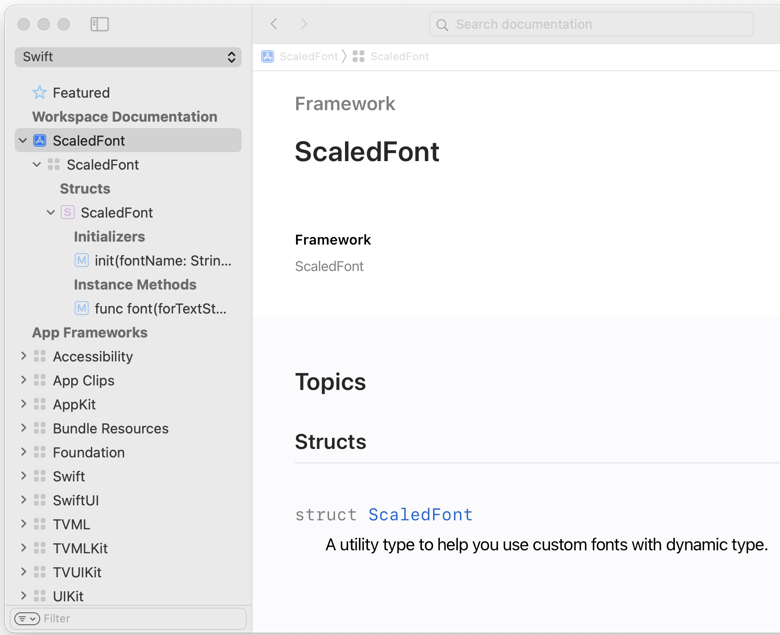
The initial landing page for the framework looks a bit bare. We’ll see how to improve that shortly. Check you’ve documented all your public symbols. This is a good start but we can do better.
Add A Documentation Catalog
DocC uses your in-source comments to build documentation for your public symbols. Adding a documentation catalog lets you customize the initial landing page, include extra content, add articles and create interactive tutorials. To add the catalog:
-
From the Xcode
Filemenu:New>Fileand select the Documentation Catalog from the template chooser: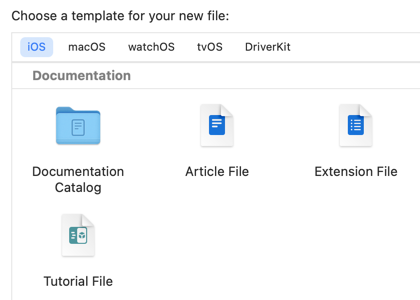
-
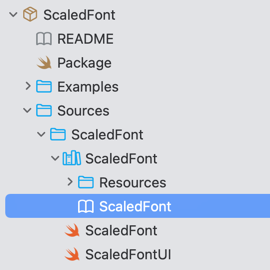
Add the file to the same directory as the source files. I’ve renamed mine to match the name of the package:
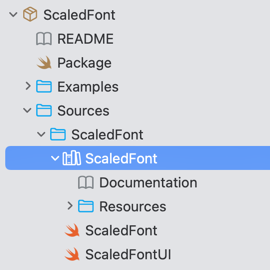
-
The catalog includes a default landing page named “Documentation.md”. I’ve also renamed that to match the name of the package:
Note: The documentation catalog resource type requires swift tools version 5.5 which requires Xcode 13. If you created your Swift Package with an earlier version of Xcode you will need to change the version in the package manifest file:
// swift-tools-version:5.5
Updating The Landing Page
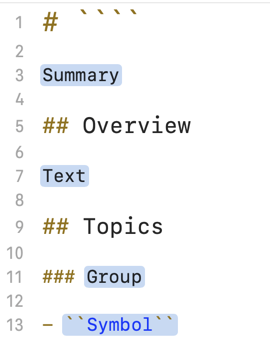
The default landing page includes placeholders to get you started:
-
The first line of the landing page must be the name of the package on a line starting with an H1 markdown header (#). The name is enclosed in double backticks to create a link to the symbol.
# ``ScaledFont`` -
The header is followed by a short summary. This should be a short sentence describing the purpose of the package:
# ``ScaledFont`` A utility type to help you use custom fonts with dynamic type. -
The next sub-header is for the overview. Apple recommends you keep this to under a screen’s worth of content (I’ve truncated it here):
# ``ScaledFont`` A utility type to help you use custom fonts with dynamic type. ## Overview Dynamic type is an **essential iOS feature** that ... -
Finally, you can replace the default compiler generated list of symbols with your own groups and include extra content. Start with a H2 header named “Topics”. Use H3 headers for each group you want to add and lists with links to the symbols:
## Topics

### Getting Started

- ``Symbol``
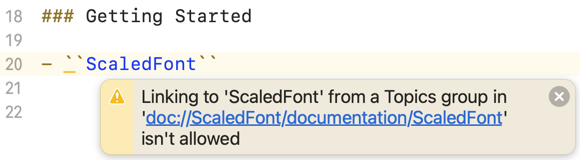
Note: The Xcode 13 beta doesn’t allow you to create a link to a symbol that has the same name as the package. That’s what happens in my case, but since I only have one public symbol in this package it’s not a big problem:
Adding Articles
One big advantage of adding a documentation catalog is that it allows you to include extra articles. For example, I’ve added an article describing how to create a style dictionary:
-
With the document catalog selected use
File>New>Fileand select Article from the chooser. I named the fileStyleDictionary.md: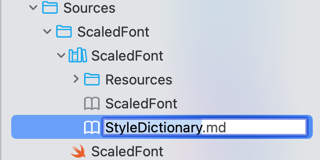
-
Replace the placeholders with a H1 header with the article title, a one line summary and the content of the article.
-
Add a link to the article from the landing page file. The document link is of the form
<doc:filename>, without the filename extension:## Topics ### Getting Started - <doc:StyleDictionary> -
Rebuild the documentation to see the article in the developer documentation browser:
Note: The Xcode 13 release notes mention that articles are not automatically included in the landing page when the package has a top-level symbol with the same name as the framework. Adding a manual link as above works around the problem.
Adding Images
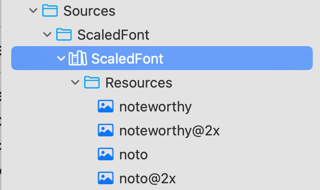
Add images to the Resources folder of the document catalog. You can use the usual asset naming conventions to include dark mode and display scale variations (image~dark@2x.png):
Add the image to the article using the markdown image syntax but omit the image file extension:

Next Steps
That’s enough to get started with DocC. You can find the completed documentation in the package repository. Next steps might include: