Reduce or disable animations when the user requests you to reduce motion in the device accessibility settings.
What’s the problem?
Apple’s Human Interface Guide has some guidelines when applying motion to your user interface:
Don’t add motion for the sake of adding motion. Gratuitous or excessive animation can distract people and may make them feel disconnected or physically uncomfortable.
They also suggest making motion optional:
Not everyone can or wants to experience the motion in your app or game, so it’s essential to avoid using it as the only way to communicate important information.
When you do apply motion you need to be aware when it can be problematic for users. Apple highlights a number of situations:
- Oscillating motions, especially with large amplitudes and frequencies around 0.2 Hz (one oscillation every five seconds).
- For spatial interfaces like visionOS, head-locked content with rapid camera motion.
- Large animations that simulate objects flying in or out of the screen.
Reduce Motion Accessibility Setting
A user can request to reduce the motion of the user interface in the device accessibility settings:
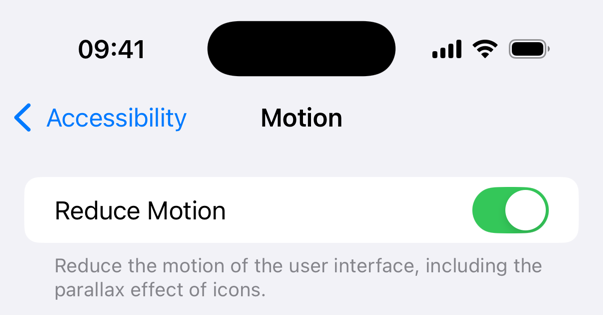
The system can take the setting into account when applying standard view transitions (but I’ve not found this documented anywhere). For example, the zoom navigation transition (new in iOS 18) creates the effect of the view flying towards/away from you which can be a problem. That automatically falls back to a standard navigation transition when you choose reduce motion.
For custom animations you need to take the appropriate action yourself by disabling or replacing problematic motion.
Detecting Reduce Motion
The reduce motion setting is available in the environment for SwiftUI views:
@Environment(\.accessibilityReduceMotion) var reduceMotion
The documentation offers us a hint on how to react:
If this property’s value is true, UI should avoid large animations, especially those that simulate the third dimension.
Note: For UIKit, listen for the notification reduceMotionStatusDidChangeNotification.
Disabling Animations
I find it convenient to create animations as a computed property that takes the reduce motion state into account. For example, to disable the animation:
struct MyView: View {
  @Environment(\.accessibilityReduceMotion) var reduceMotion
  private var linearAnimation: Animation? {
    guard !reduceMotion else { return nil }
    return Animation.linear(duration: 0.3)
  }
}
Then when applying the animation using the computed property. A value of nil disables the animation:
  .onTapGesture {
      withAnimation(linearAnimation) {
          enabled.toggle()
      }
  }
You don’t have to always disable the animation, as with the zoom transition you could replace an animation with a less problematic version. The point to remember is that it’s not automatic for your own animations. You need to decide when and how to respond.