Here’s my quick guide to creating Swift packages with Xcode.
Last updated: Nov 10, 2022
Creating A Local Package
I’m starting from a small Xcode project with some Core Data helper code collected into a sub-folder:
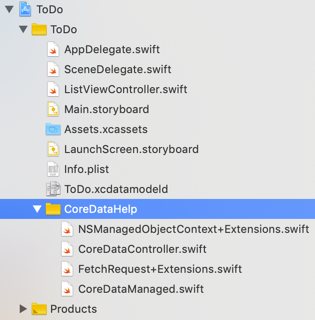
My plan is to extract the Core Data code into a Swift package so I can reuse it between projects:
-
From the Xcode menu
File > New > Swift Package...: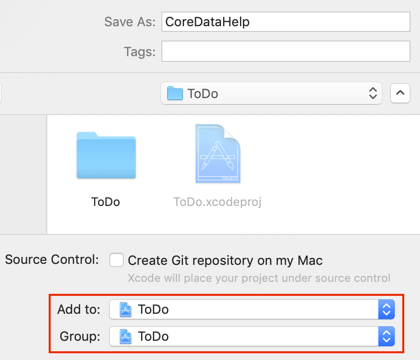
Name the package and create it in the top-level folder (with the
xcodeprojfile). Add it to the project and make the group the top-level folder. -
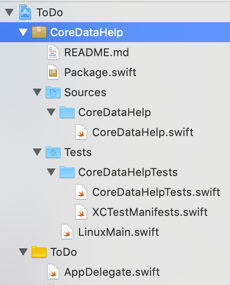
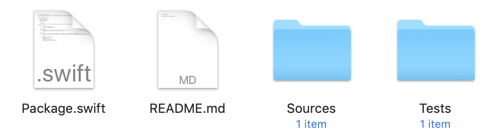
You should now have a new Swift package at the top-level of your Xcode project:
-
Copy the source files into the
Sources\CoreDataHelpfolder. Delete the existingCoreDataHelp.swifttemplate file: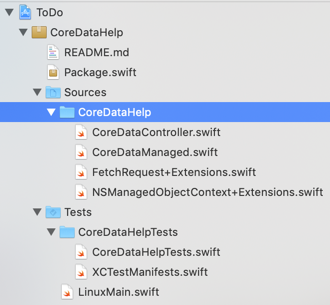
-
If you have unit test files, copy them into the
Tests\CoreDataHelpTestsfolder.Note: I deleted the
CoreDataHelpTests.swift,XCTestManifests.swiftandLinuxMain.swiftfiles as they are only needed to run your tests on Linux. For more details see Keeping XCtest in sync on Linux by Ole Begemann. -
You’ll also want to write something meaningful in the
README.mdfile.
Swift Package Manifest
A Swift package is made up of a collection of source files and a manifest file (Package.swift). The manifest defines the products (libraries or executables) built by the package, any dependencies on other packages, and the build targets including any test targets.
For a simple package, you probably will not need to change the default manifest. I added a minimum deployment version for iOS:
platforms: [
  .iOS(.v12)
],
I recommend watching the WWDC sessions for further details. The full manifest file for reference (the swift tools version will depend on the version of Xcode used to create the package):
// swift-tools-version:5.1
// The swift-tools-version declares the minimum version of Swift required to build this package.

import PackageDescription

let package = Package(
  name: "CoreDataHelp",
  platforms: [
    .iOS(.v12)
  ],
  products: [
    // Products define the executables and libraries produced by a package, and make them visible to other packages.
    .library(
        name: "CoreDataHelp",
        targets: ["CoreDataHelp"]),
  ],
  dependencies: [
    // Dependencies declare other packages that this package depends on.
    // .package(url: /* package url */, from: "1.0.0"),
  ],
  targets: [
    // Targets are the basic building blocks of a package. A target can define a module or a test suite.
    // Targets can depend on other targets in this package, and on products in packages which this package depends on.
    .target(
        name: "CoreDataHelp",
        dependencies: []),
    .testTarget(
        name: "CoreDataHelpTests",
        dependencies: ["CoreDataHelp"]),
  ]
)
Versioning and Publishing
To share the package, we need to extract it from the existing project and create a remote source control repository:
-
Hold the Option (⌥) key and drag the package folder out of the project into a new directory:
You can delete the source files from the original project at this point as we will add them back with a package dependency later.
-
Double-click the
Package.swiftmanifest file to open it in Xcode. -
Create a local Git repository for the package. From the Xcode menu
Source Control > New Git Repositories.... -
Create a remote repository for the package. If you’re using GitHub or Bitbucket you can do this directly in Xcode from the source control navigator (next to the file navigator in the left panel):
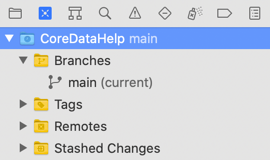
Right-click on the top-level package and use
New "PackageName" Remote.... UseAdd Existing Remoteif you created the remote repository outside of Xcode: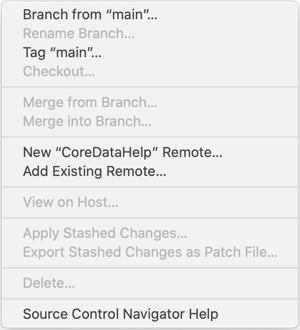
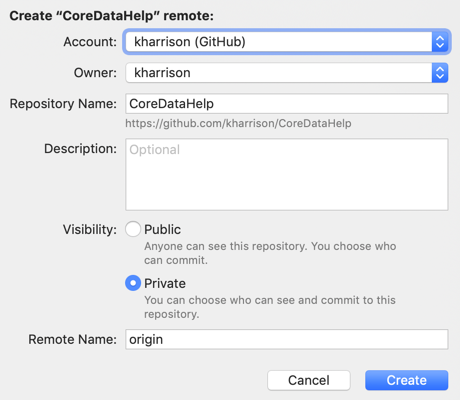
To use Xcode to create the remote repository you need to have added your GitHub or Bitbucket account to Xcode (see Xcode source control accounts). You can then chose to make the repository public or private:
-
Push the package to the remote repository using the Xcode menu
Source Control > Push.... -
You version the package by tagging it in source control. In the Xcode source control navigator, right-click on the top-level package and choose
Tag "main".... Use semantic versioning to add a version number to the current commit: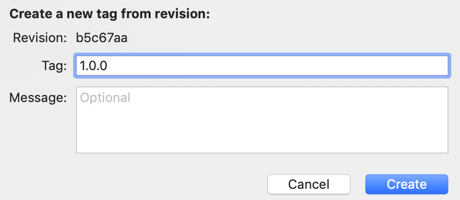
-
Push the tag to the remote repository,
Source Control > Push..., make sure to select the option to “Include tags”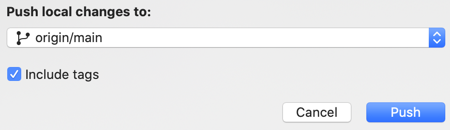
At this point, we’ve published our Swift Package. If you update the package, remember to increase the version number when pushing the changes to the remote repository.
Using the Package
To use the package, add it as a dependency to an Xcode project:
-
From the Xcode menu
File > Swift Packages > Add Package Dependency.... Xcode shows the repositories visible from any GitHub or Bitbucket accounts you have added. You can also directly enter the URL for the package: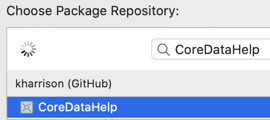
-
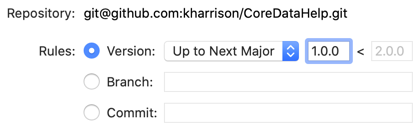
You can change the package dependency rules. By default, Xcode uses up to the next major version when updating dependencies. See the WWDC session for more details on how Xcode resolves package dependencies:
-
Add the product(s) in the package to the appropriate targets:

If you have additional targets you can add the package library to them later.
-
You should see the package dependency listed in the file navigator:
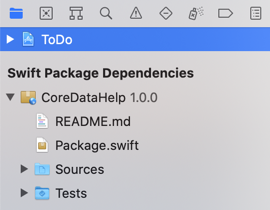
-
If you want to remove the package dependency, you can do it from the project settings:
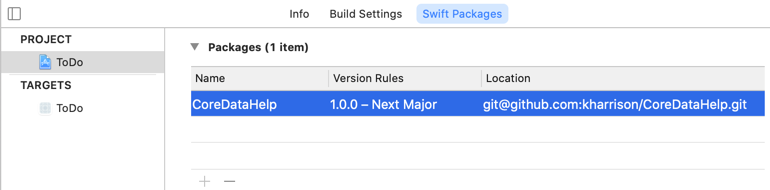
-
You should now be able to import the library into your Swift projects and playgrounds.
Adding Resources
Xcode 12 added the ability to add resources to a package. See this later post for details:
Learning More
I recommend watching the two WWDC 2019 sessions on the Swift Package Manager. The first session covers using Swift packages, the second covers how to create and share your own:
- WWDC 2019 Session 408 Adopting Swift Packages in Xcode
- WWDC 2019 Session 410 Creating Swift Packages
Dave Verwer’s Swift Package Index is a place to find and share Swift packages: