One problem I have with Xcode 4 is that there are lots of tiny icons and tabs whose purpose is not immediately obvious. Also the UI has undergone a radical overhaul so knowing how to do something with Xcode 3 is not always much of a help when you want to do the same thing with Xcode 4. This means that the first time you try to do something you spend a few minutes hunting around for the right button to press.
One example of this is when you want to localize a NIB file. With Xcode 3 you right-clicked on the NIB file and managed the localizations in the file info dialog window. Unfortuantely Xcode 3 made a mess of handling the naming of the locales (see Xcode localization frustrations). With Xcode 4 things are a little different.
Localizing a NIB file
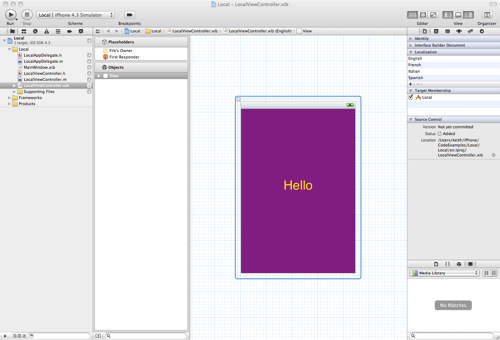
The action of localizing a NIB file is pretty easy once you know where to look in Xcode 4. Now that Interface Builder is integrated into Xcode you need to look in the right-hand utility pane with the NIB you want to localize selected:
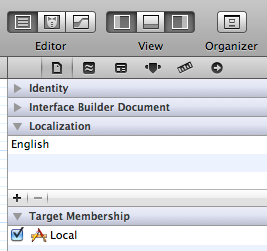
To display the localization option you need to ensure you have selected the first tab in the utility pane by selecting the file inspector icon:
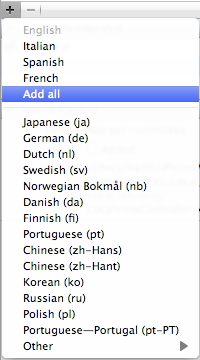
Adding new languages is then as easy as clicking the “+” button in the localization section of the inspector. A nice touch here is that frequently used languages are grouped at the top along with an Add all button which speeds things up. The menu also lists all locales by their user-readable names (e.g. German) together with the ISO language designator (e.g. de) so you no longer have to hunt around for the correct codes.
As you add each language Xcode creates the appropriate project directory and copies the NIB file into the directory. The directory names now also use the short country codes so in the following example:
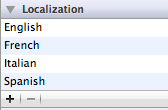
The project ends up with directories named en.lproj, es.lproj, fr.lproj and it.lproj and everything finally works as expected. Of course, at this point you have to do the hard work of actually localizing all of the strings in the NIB file…